Now that it’s 120 degrees outside, my daughter desperately needed some summer pajamas. I don’t know about you, but it pains me to spend $20 for a pair of kid’s pj’s. So I decided to “make” my own.

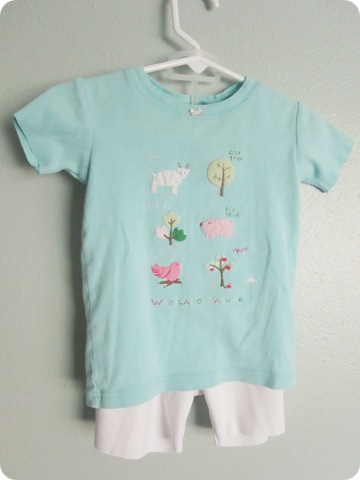
I started by ransacking her closet and drawers and found a pair of winter jammies that was too small and some winter hand-me-downs that fit right now, but will be too small by the time cooler temperatures make their way here to Texas.
The T-shirt and shorts outfit could not have been easier to make. I literally just measured using some of her other pj’s and cut the arms and legs off. Seriously, that’s all I did. Since these are just pj’s and won’t last beyond this summer, I didn’t even bother to finish the edges. You don’t have to hem jersey material because it won’t fray. So they went from this:
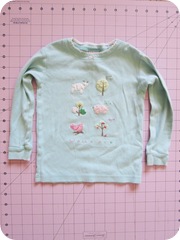
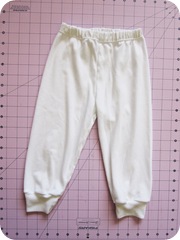
To this:

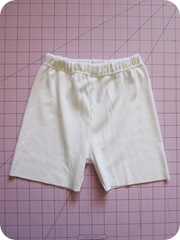
The nightgown was still pretty easy, but did require some sewing knowledge. Here’s what it looked like before:

First, I cut off the long sleeves and I cut off the legs just above the crotch area.

I could’ve left it like this if I had another pair of shorts to go with it, but I decided instead to make it a nightgown. I had this scrap of fabric that was a perfect compliment to the colors and the apple pockets.
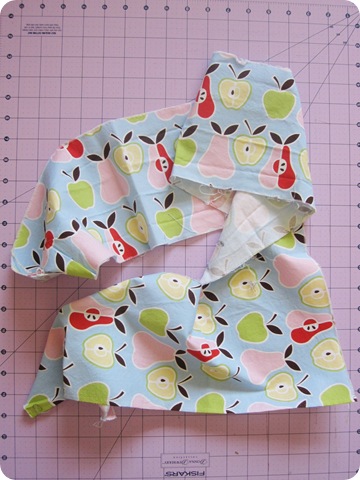
I didn’t take pictures of each of the next couple of steps, but you can see them all in the picture below. Here’s what I did:
- Cut your scrap into one long strip and iron it.
- Make your hem: Fold one long side up 1/4”, iron it, fold it up 1/2”, iron it and sew it down.
- Sew the 2 short sides together and iron the seam down.
- Serge (if you’re lucky!) or zig zag stitch (like me) around the unfinished, long edge (the top).
- Put your sewing machine at the longest stitch and stitch all around the top edge about 1/4” from the top. Then pull one thread, gathering it until your “skirt” is about the right width for your shirt. Don’t worry, it doesn’t have to be perfect. And yes, this step does take a little while and little finesse. Then pin your skirt to your shirt, right sides together, in preparation for sewing.
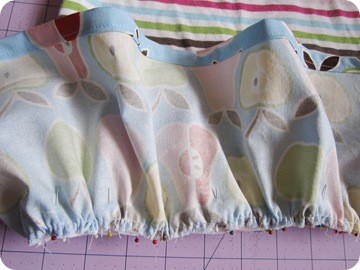
Make sure your jersey material lays pretty flat. I used a lot of pins to make sure it wouldn’t stretch too much while I sewed it.
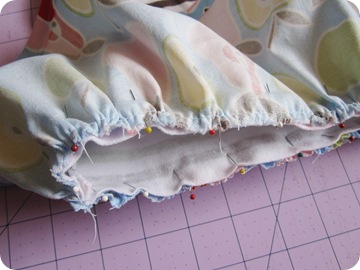
To save yourself some time, stitch to the left of your gathering stitch and you won’t have to spend time ripping it out.
And voila! So cute and so easy!

I loved these upcycling projects so much. It was a great way to make use of what we already had, I had fun doing it, and it saved me some $$$! I liked it so much, I’m already planning my next upcycling project. My daughter has some little sundresses that are getting too short and I’m totally going to do this to them to make them last throughout the summer.
Do you upcycle your kids’ clothes? I’d love to hear what other projects you’ve attempted!
Linking up to these fun parties:





 Posts


