

We went shopping for fabric and he picked out some Lightning McQueen fabric from the movie Cars (he is in love with all things Lightning McQueen).
I'm sure there are a ton of tutorials out there for child aprons, but here's how I made mine (I was going for super easy!). You only need about a half a yard of fabric and 2 packages of double fold bias tape (I used 1").
I folded my fabric in half and then cut out my basic shape. The length of my apron (which fits my 3 year old) from top to bottom is 20". The bottom is about 17" across and the top is about 5 1/2" across. The armholes are about 9" long. The beauty of an apron, though, is that size doesn't have to be perfect, so don't get too hung up on the measurements.
Notice I did not make the armholes rounded. This makes it easier for sewing the bias along on the edges (remember, I'm going for super easy, here!). (Sorry about my un-ironed fabric, but my iron and I were in a fight that day. We've since reconciled.)

Next (after you've pressed your bias tape), begin pinning it to your apron. Start by pinning a small piece across the very top.

Then, leave about 14" of slack that will make up one of the ties around the neck and begin pinning along the side of your apron.

Turn the corner at the armhole (easy to do since I didn't round the armhole).

Depending on how comfortable you are with bias tape, you can actually wrap all the way around your apron finishing with 14" of slack to make the other tie for the neck. I however, cut the bias tape when I got to the bottom since it was easier for me to pin and sew it without having to round the corner.

Here's what it will look like once you have it all pinned.

Now cut a piece of your bias tape that is about 42" long. Pin it across the chest of the apron (I just sort of eyeballed where it would look good) leaving 14" of slack on either side. These will be the ties around the waist. I really like the detail it adds to the apron!
 You could also add a pocket if you are so inclined, but since I was trying to make the world's simplest apron I opted to leave the pocket off. Besides, I didn't really want my child to have a pocket to put flour, paint, cookie dough, etc. in!
Now that you have the whole thing pinned, it will look like this...

Now you're ready to begin sewing. Start with the left neck tie. You'll want to open up your bias tape, fold it down about 1/2 an inch...
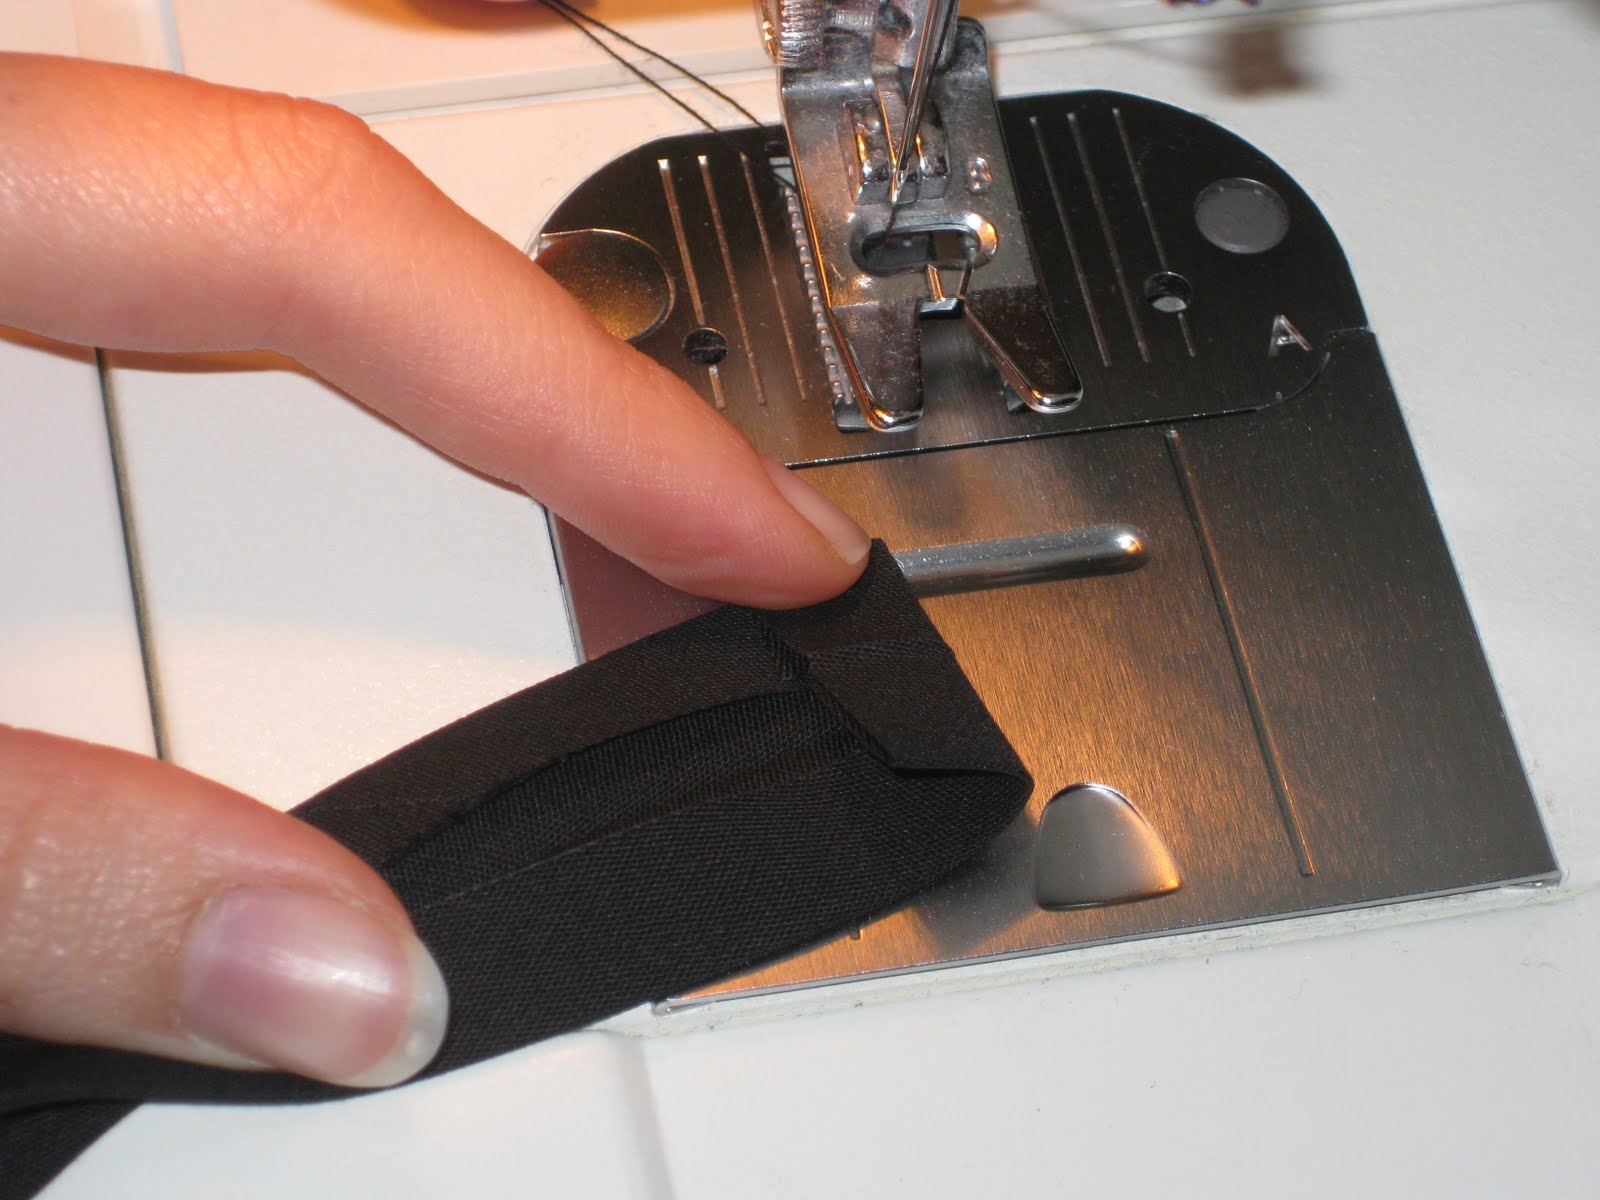
and then close it back up before you begin sewing (make sure to do this with all of the ties).
 Sew all around the apron, then across the top, then across the waist ties and chest. And that's it! I told you it was super easy!

He's very proud of his apron and has already informed Daddy that he will now be helping him grill. Too cute!

And here's how it looks from the back...

And there you have it. Super cute, super functional, and SUPER easy! Let me know if you try one for your budding chef, messy little one, or future artist.
As always, please only use this pattern to make aprons for your own personal use, not for resale. Thanks!
Linked to:


Spotlight Yourself Wednesday


Works For Me Wednesday




It's So Very Creative Monday


 Posts


