If you're anything like me, you LOVE to look at other people's homes. I love to see how other people have decorated, arranged their furniture, hidden away toys, etc... So this week has been so much fun for me because
Poppies at Play has been hosting a
Parade of Homes on their blog. I've been on this redecorating kick lately and seeing all of the AMAZING homes on this Parade has really inspired me. I was already planning to redecorate our living room/dining room (which doubles as a guest room/craft room) this summer. But since seeing these beautiful homes, I've also begun a Master Bedroom redo (stay tuned for before/after once it's finished).
Anyway,
Poppies at Play is having a link party this weekend where EVERYONE can participate in the Parade of Homes. So I thought I'd share my daughter's nursery with you.

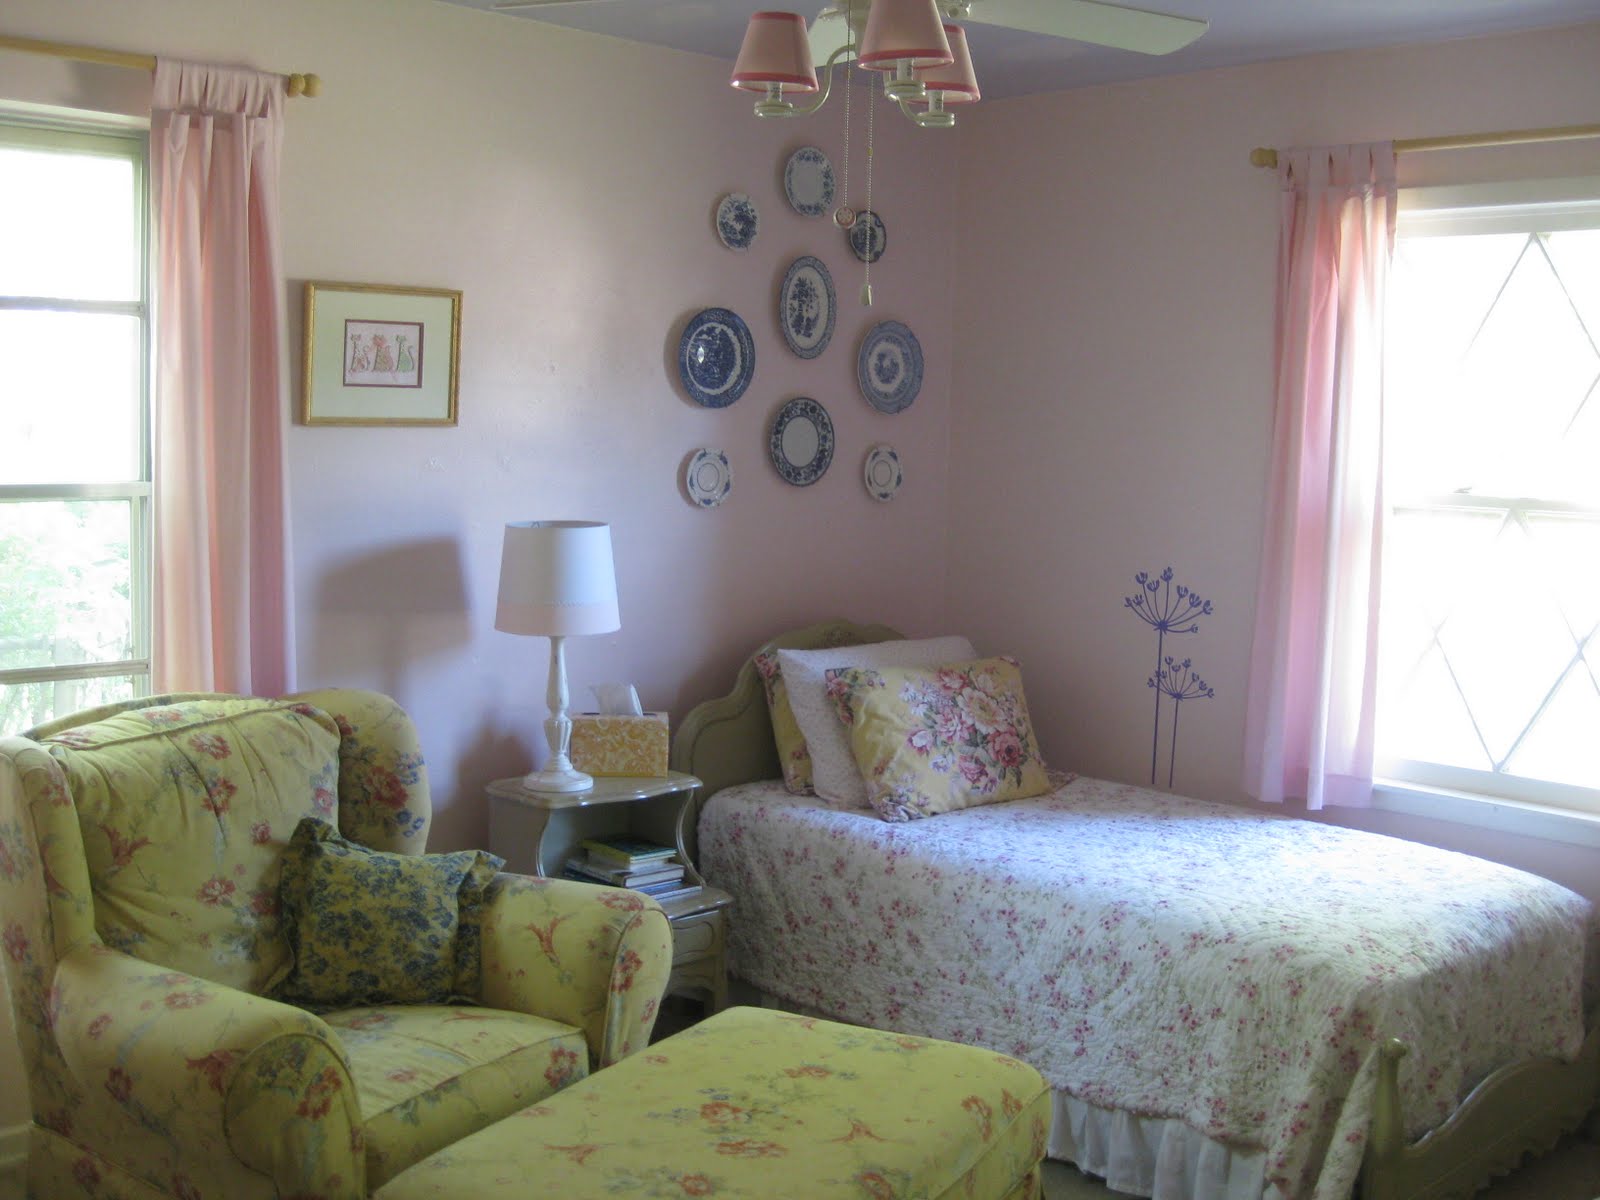
Once I found out I was having a girl, I was SO excited to decorate my daughter's nursery. And I immediately knew that I was going to go with a Shabby Chic theme. It was so much fun decorating her room and I am really proud of how it turned out. We started by painting it a light pink. When we first painted it, it actually glowed pink the afternoon sun! But once the furniture moved in, the pink was toned down quite a bit. I found the curtains (pink, of course) at Linen's N Things when they were going out of business. I think I got them for around $10 per pair!
The bedroom set is actually the set that my sister and I used when we were little. I have always used this set as my guest room furniture, but I am so happy to be able to pass it on to my daughter. The bedding on the twin bed is from the Shabby Chic collection at Target. The blue and white plates are plates that I have been collecting for some time and I love the effect they have when hung together above the bed.

The crib is on the opposite side of the room. I bought the letters for her name from
this Etsy shop and they came out so cute. The yellow chair is the only "new" piece of furniture I bought for the room. I bought it on Craigslist and I LOVE it. My mom and I drove almost an hour to get it, but it was TOTALLY worth it. Besides a crib, I think one of the most important pieces of furniture in any nursery is a comfy chair!

And it makes a great place to play with big brother...

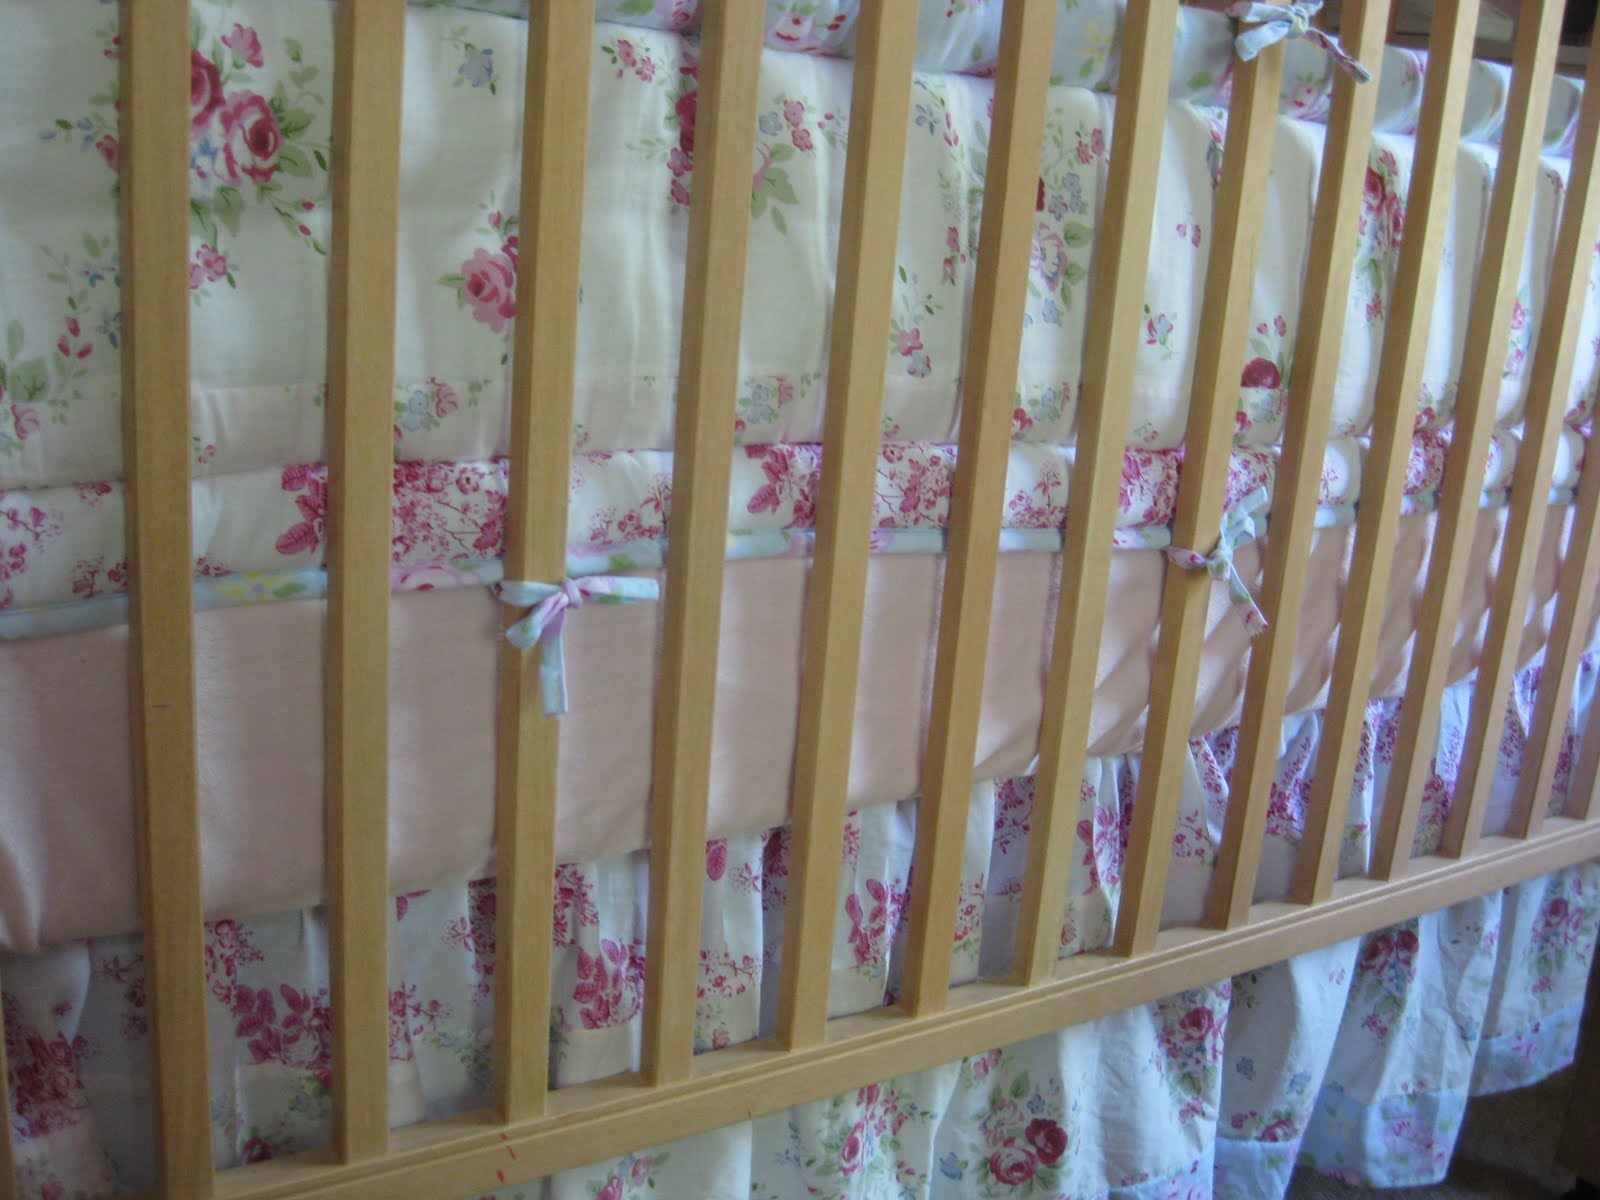
Here's a close-up of the bedding. It was also purchased from Target. The different floral patterns used together really add to the Shabby Chic look.

And here's her Binky Bag (my creation for storing extra pacifiers so I don't have to hunt for an extra one in the middle of the night. You can find them here in my
Etsy shop).

The scavenger hunt for the perfect accessories didn't take me too far. I actually already owned most of the items I used in the room.

Like these 2 floral prints...

And this piece of ironwork...

And this lamp...

My sister made this for the room. It's actually a greeting card that she matted and framed (you can't tell in this picture, but the cats are three dimensional). So cute and so easy!

Here's her changing table. It's the vanity that matches the bedroom set. We just put a changing pad on top of it (and secured it the wall, of course) and it works perfectly!

Most of the toys are in the playroom, but I keep a small basket of dolls and stuffed animals in her room when she feels like playing in there.

The shelf above her changing table actually used to be black with white knobs. I painted it a pale yellow and changed out the knobs to some cute purple glass ones bought at Home Depot. The vinyl wall decals are from
this Etsy shop. I put them there to give my daughter something to look at while I was changing her diaper, and she has loved them since she was a newborn. (You can see another of the decals "growing" out of the twin bed in the pictures above).

So there it is. My daughter's Shabby Chic nursery that will grow with her and will transition easily into a big girl room someday (but not too soon!). I hoped you've enjoyed this tour. And if you're still feeling voyeuristic, don't forget to check out
Poppies at Play for their
Parade of Homes.And stay tuned for my master/living room redo's...I'm on a decorating roll!
Linked to:


 Remodelaholics Anonymous